Before your new shed from Glick Structures is delivered, first, you’ll have to prepare your shed pad. A shed pad is your shed’s foundation, and there are a few different methods to set this up. You can have a crushed stone, concrete, or paving slabs foundation for your shed in Pennsylvania. Below, we have detailed the three foundations and outlined how to prepare each one for your shed pad.
Shed Foundations:
After you’ve obtained the necessary permits, you’re ready to start preparing your site for your new shed. Here are common shed foundations.
Crushed Stone
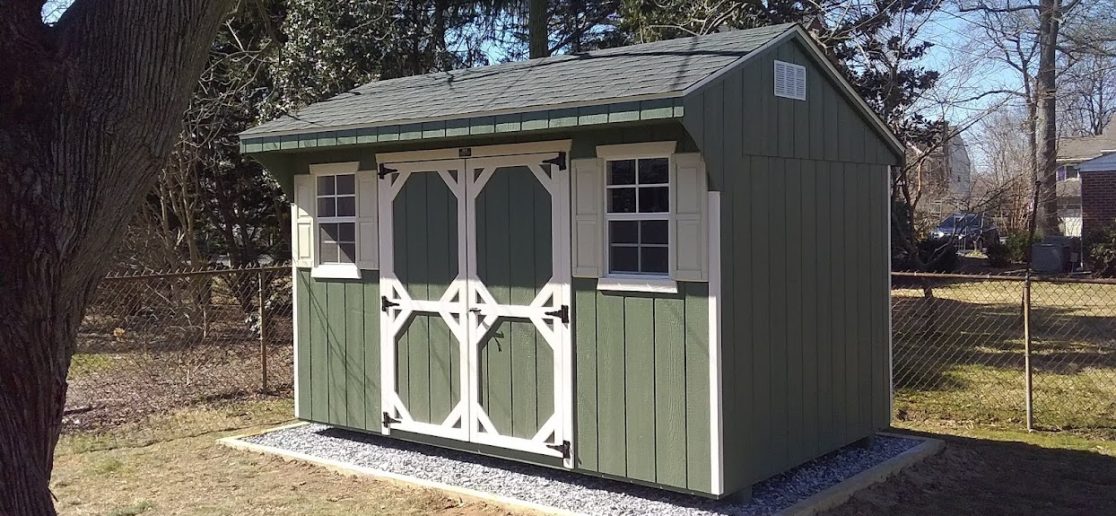
Crushed stone, also known as a gravel foundation, is an affordable option for a shed pad. A crushed stone shed pad is durable, resistant to wear, and relatively easy to install yourself. The stones allow for good drainage underneath the structure, adding moisture protection between your shed and the dirt below.
Preparing a Crushed Stone Foundation
Step 1: Prepare the site by clearing grass and dirt from the land you want to build your shed on. You need to make sure the land is perfectly flat. Depending on the slope of your land, you may need to dig out or build up the foundation.
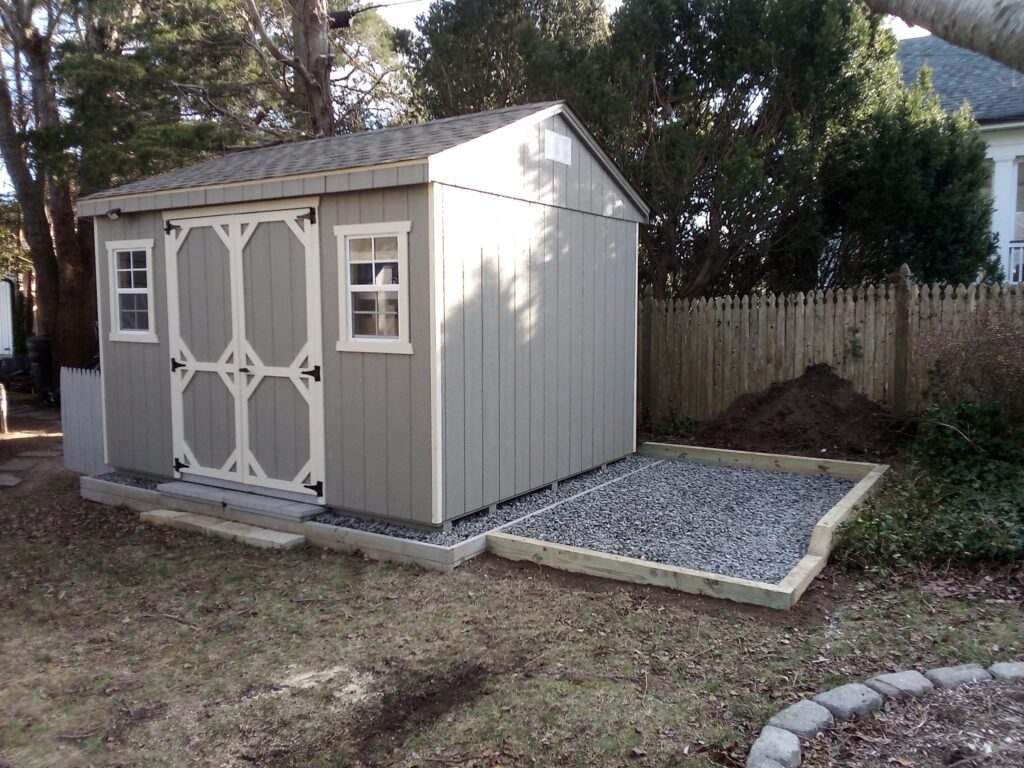
Step 2: Use pressure-treated lumber to mark a perimeter for the stone to lie in. We recommend using rebar to stake the lumber into the ground. You’ll want your shed pad to be a little bigger than the shed’s size, about a foot or two more, to ensure it fits comfortably and drains water properly.
Step 3: Add a barrier fabric to protect the stone from any growing weeds. You can staple these to the lumber perimeter so they stay in place.
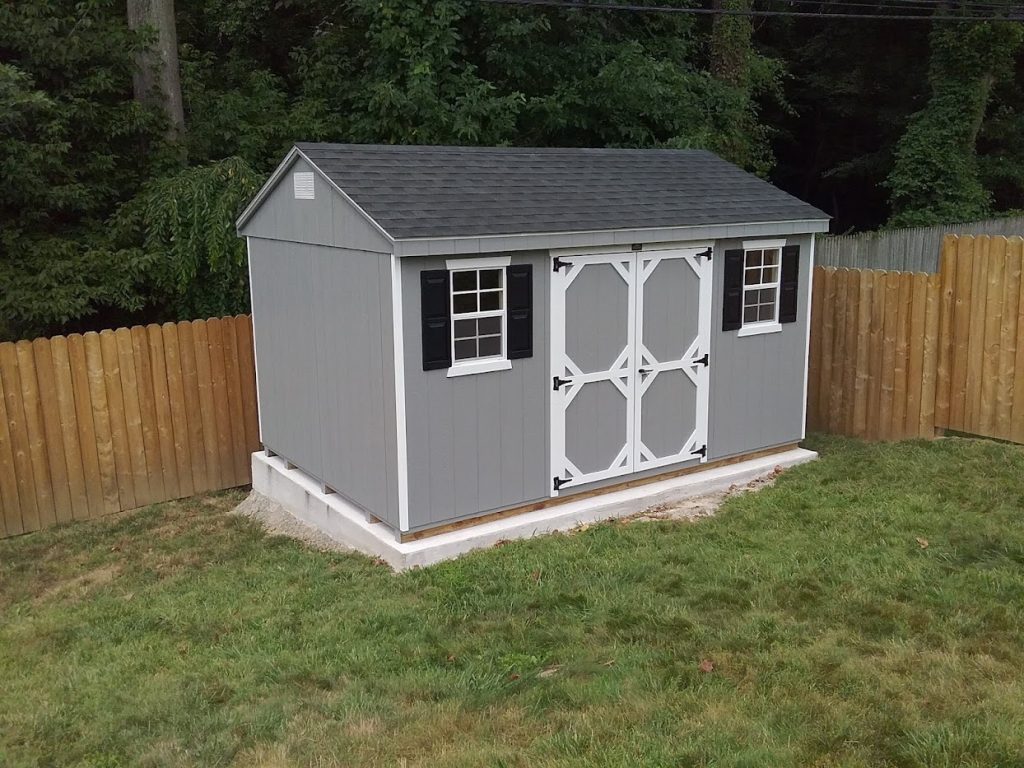
Step 4: Spread at least three inches of crushed stone (not gravel) on the site. Make sure the stone is spread evenly with a garden rake, then you can tamper it down by stepping on a 4×4 or a tamper tool. The foundation needs to be perfectly level, so use a string or laser level to ensure your shed pad is even and square.
Step 5: Once the crushed stone shed pad is complete, we can deliver your new shed.
Concrete
A concrete shed pad is the best base for your shed, but it can be costly and difficult to install yourself. These foundations are long-lasting, easy to maintain, and provide an extra-strong base. They are made to support heavy structures, like a large shed or garage. Using concrete will allow your shed pad to be resistant to rot, pests, and Pennsylvania’s weather elements. It won’t drain as well as a crushed stone pad, but it will provide moisture resistance. For improved draining, we recommend adding some crushed stone underneath the concrete.
Preparing a Concrete Shed Pad
Step 1: Mark out the dimensions of the shed pad, then dig out enough room for the foundation. We recommend this be 4-6 inches deep to support the weight of the structure, but dig eight inches deep if you want to add crushed stone underneath. Like the crushed stone pad, you should leave a foot or two of extra space around the shed.
Step 2: Use wooden boards to form the perimeter of the foundation to hold the concrete in place. Ensure these boards are level and square, so the foundation can properly hold the structure. Secure them in place with stakes.
Step 3: Place the crushed stones in the bottom, then pour the concrete on top. Spread the concrete evenly; it should be about four inches thick.
Step 4: Once the concrete is set, which usually takes about two days, remove the wooden boards, then smooth down any rough edges.
Step 5: Your shed pad is complete and ready for delivery.
Paving Slabs
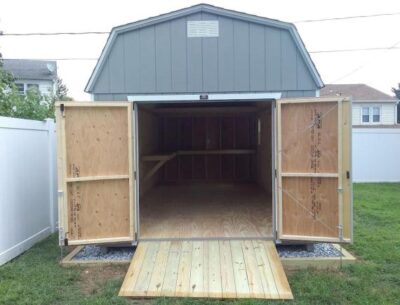
A paving slab shed pad is a simple solution that works effectively, allowing for some drainage underneath the shed. Paving slab foundations use concrete slabs or blocks to place the shed on. It is the simplest to build and can easily be done yourself. This is the preferred foundation if you are planning to move the shed in the future, as it’s perfect for a temporary placement.
Preparing a Paving Slab Shed Pad
Step 1: Mark the perimeter of the shed, then clear the site of any excess dirt, debris, and shrubs.
Step 2: Place concrete pavers either on the ground or dig them slightly into the ground. Pavers should be placed on each corner of the perimeter and around the edge of the foundation. We recommend there be 4-6 feet in between each paver.
Step 3: Ensure the pavers are even with a laser level. They need to be completely even and match each other, or the shed will be placed unevenly and could settle.
Step 4: Place wooden pressure-treated skids on top of the pavers to make a frame for your shed. Skids should be perpendicular to the direction of the shed’s floor joists and be evenly spaced with the pavers.
Step 5: With the frame complete, the shed can be delivered.
Hire a Professional
While preparing a shed pad can be done yourself, if you are not as construction-oriented, we recommend having a professional prepare the foundations. A concrete shed pad is specifically difficult to install yourself; we find it best to have a professional ensure it is installed properly. We work with multiple foundation experts within any budget, whom we can recommend to you.
Get a Storage Shed with Glick
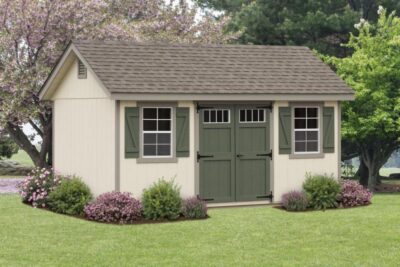
Ready for a storage solution in your backyard? Glick Structures builds high-quality, stunning storage sheds for Pennsylvania homeowners to organize and maintain their yards. Once you have completed your desired shed pad, we can deliver your shed to you, pre-built. Check out our in-stock inventory of pre-built sheds ready for delivery, or design a custom shed with our 3D Builder. If you have any questions, contact us.